


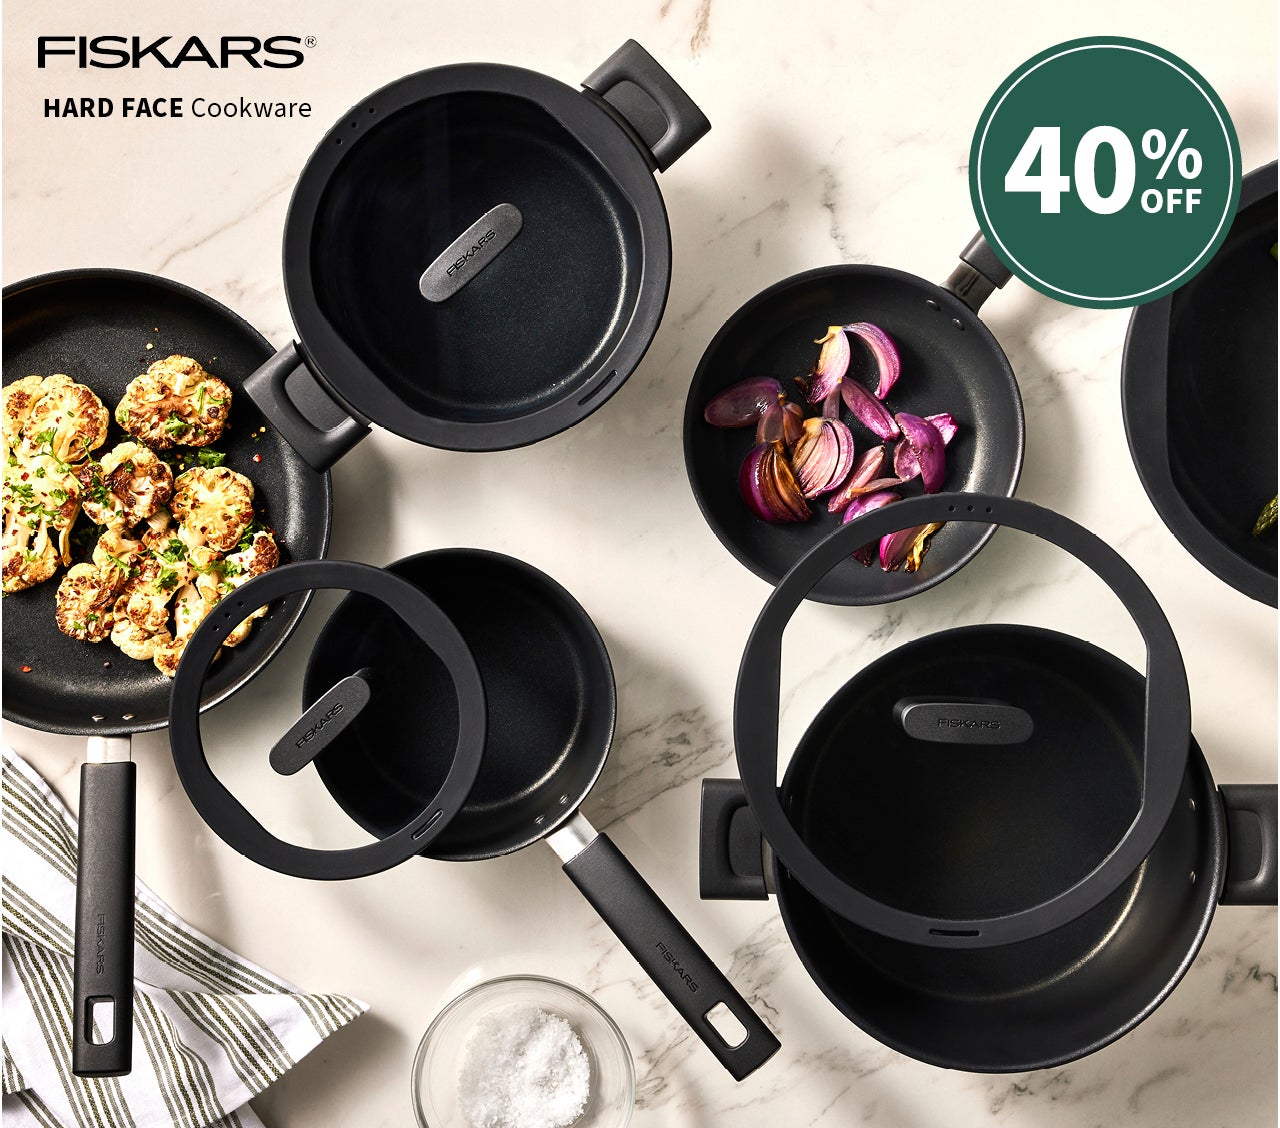


Hot Deals this Week


Spotlight on: Capital Kitchen Element
Valued for its superior performance and heat retention properties. A beautiful range of essential pieces designed with a simple modern aesthetic, this cookware will last a lifetime and serve generations to come. Available in blue, green and white casserole dishes and cast iron skillets. Suitable for low and high heat cooking on induction, gas, electric and ceramic hobs and is oven safe.

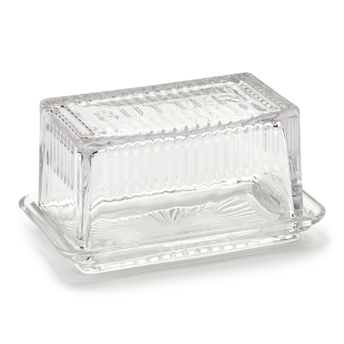
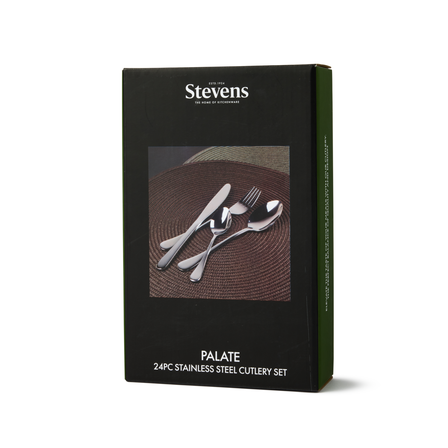
Dining & Entertaining Essentials


Autumn Recipes

Smoky Spanish Meatballs & Spaghetti
read the recipe
Blueberry & Thyme Tart
READ THE RECIPE
Pumpkin Soup
READ THE RECIPE


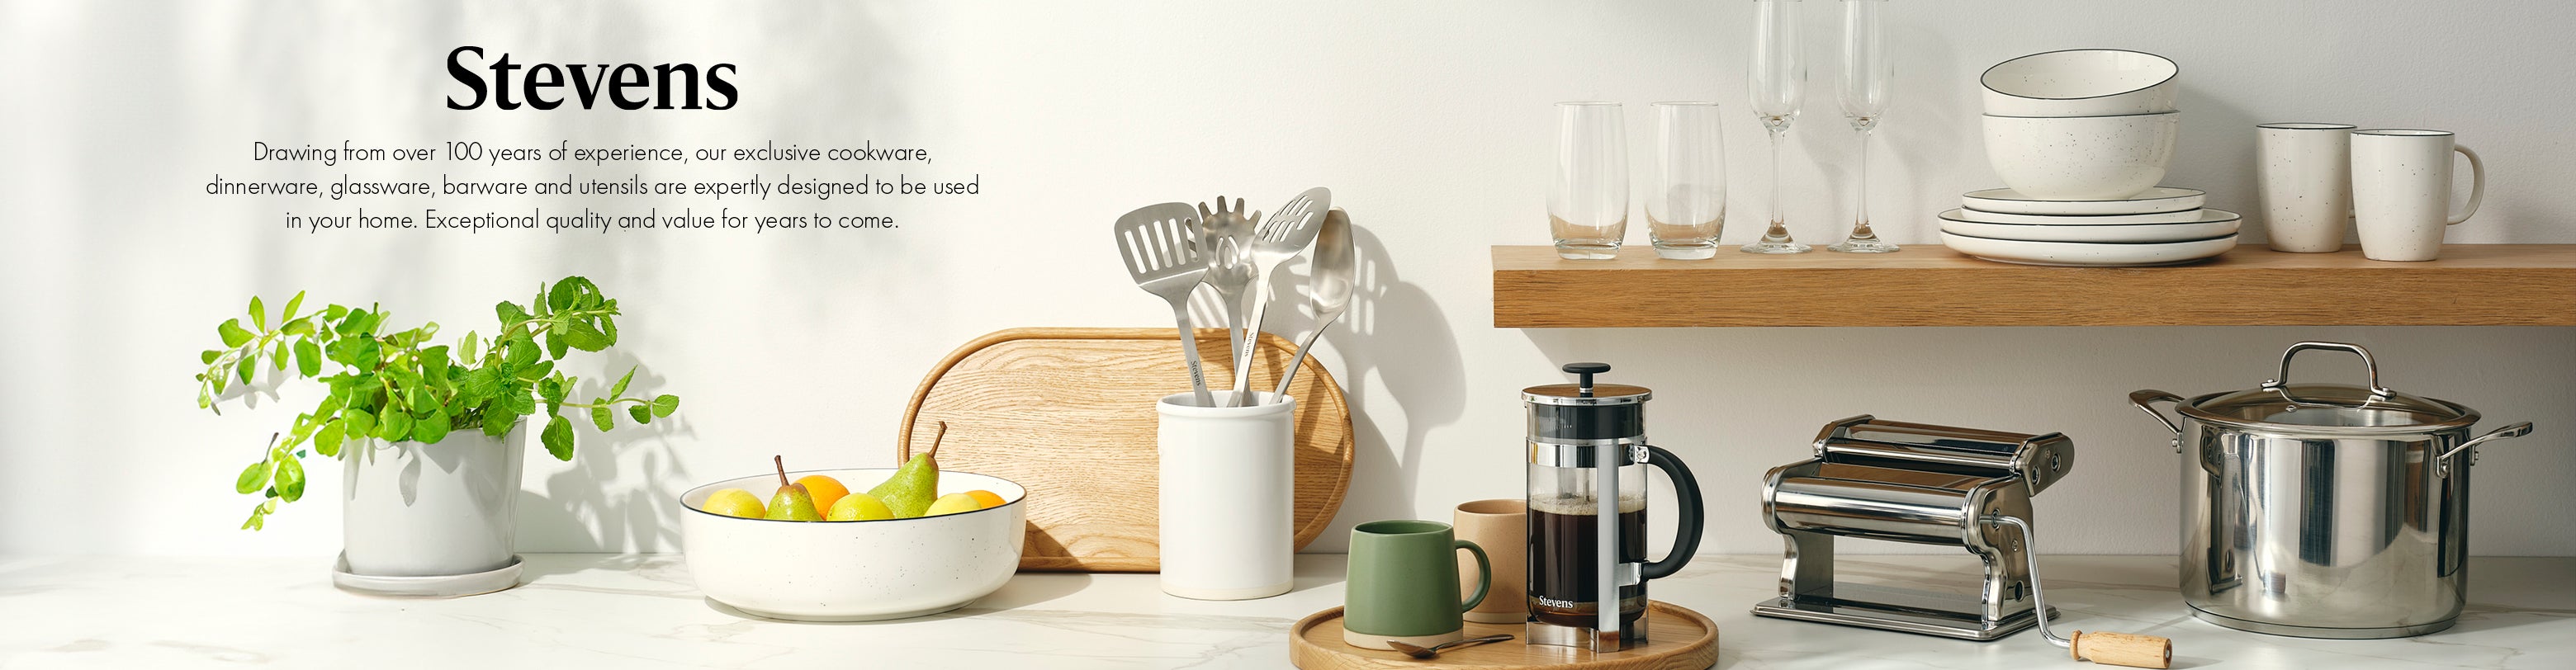
Welcome to Stevens: Your Leading Kitchenware and Tableware Store in New Zealand
At Stevens, we are dedicated to bringing you the finest selection of kitchenware and tableware across New Zealand. As your trusted kitchenware shop and tableware store, we offer a wide range of products to meet all your cooking, baking, and dining needs. Whether you’re a professional chef or a home cook, our curated collection ensures you’ll find what you want to enhance your kitchen and dining experience.
Your Trusted Kitchen Supply and Appliance Store
Stevens has been a household name for decades, offering high-quality products combining functionality and style. As a leading kitchen supply and appliance store, we’re stocked with everything from essential cookware and bakeware to the latest kitchen gadgets and appliances. Our extensive selection makes it easy for you to find the perfect tools to create delicious meals and set a beautiful table.
Explore our comprehensive range of kitchenware and tableware designed to meet the diverse needs of New Zealand homes. From sturdy pots and pans to elegant dinnerware, Stevens is your go-to kitchen store for quality products that are both practical and stylish.
Shop Nationwide: Kitchenware, Tableware, and Appliances for Every Home
Stevens proudly serves customers all over New Zealand, offering convenient online and in-store shopping options. Our commitment to quality and customer satisfaction makes us the preferred kitchenware store and tableware shop for Kiwis nationwide.
Whether you want to upgrade your kitchen appliances or add new tableware to your collection, Stevens has the products to meet your needs. From kitchen appliance shops to tableware stores, our locations across New Zealand ensure you have access to the best products wherever you are.
Why Choose Stevens?
Stevens is more than just a kitchenware store; we’re a destination for inspiration, quality, and style. We understand that the kitchen is the heart of the home, and we’re committed to providing you with the best products to make your cooking and dining experiences truly enjoyable.
Unmatched Quality: We carefully select our products to ensure they meet the highest quality, durability, and design standards.
Extensive Range: Whether you’re shopping for the latest kitchen gadgets, timeless cookware, or elegant tableware, our extensive range has something for everyone.
Nationwide Reach: With stores across New Zealand and a robust online shopping experience, Stevens is accessible to all Kiwis, no matter where you are.
Many customers are surprised to learn that at Stevens, our knowledgeable staff is here to help you choose the perfect kitchenware, tableware, or gadget for your needs. Whether you’re a beginner or a seasoned chef, we’re happy to provide tailored recommendations.
How can Stevens help me choose the right products?
Our team is trained to guide you through our extensive range of products, helping you select items that suit your cooking style, preferences, and budget. Whether you need a versatile pan, a durable kitchen gadget, or elegant dinnerware, we’ll help you make the right choice.
Why should I ask for assistance at Stevens?
Unlike other retailers, Stevens provides a personalised shopping experience. Our staff are passionate about kitchenware and can offer expert advice, ensuring you invest in quality products that meet your unique needs.
How can I learn about Stevens’ personalised service?
Next time you visit a Stevens store, simply ask one of our friendly team members for assistance. We’re here to help you find the best tools and products to enhance your kitchen and dining experiences.
What kind of questions can I ask the Stevens team?
You can ask us anything! Need a pan for specific recipes? Not sure which gadget will make prep work easier? Looking for a gift for someone special? Our team is here to help with personalised advice.
Shop Online or In-Store
Whether you prefer the convenience of shopping online or the experience of browsing in-store, Stevens makes it easy to find the kitchenware and tableware you need. Visit our website or one of our local stores to explore our full range and enjoy shopping with a brand that’s committed to serving the entire country.
At Stevens, we’re here to help you create a kitchen and dining space that’s both functional and beautiful. Explore our selection today and discover why we’re New Zealand’s premier kitchenware store, tableware shop, and kitchen appliance store.